Hey everyone, Mike here! Have you ever found yourself in a situation where you have friends over and they ask for your Wi-Fi password? You stumble over to your ISP-provided modem, trying to read off a complex password like “Hot-67-surfertrees- … No, wait, surfer… After 67. Yes, no…” Or perhaps you have your own wireless router, but still, communicating the password becomes a hassle with visitors not hearing you correctly or knowing when to replace letters with numbers.
Fear not! Today, we’re going to leave these first-world problems behind and learn how to create a QR code using Python. This QR code can be scanned by your visitors using their device’s camera. But before we begin, make sure you:
A. Understand how to use Python. B. Have Python installed and set up on your computer.
Let’s get started! Open your favorite IDE and create a new file. Feel free to name it whatever you like. For this example, I’ll be calling the file “ezQR.py.”
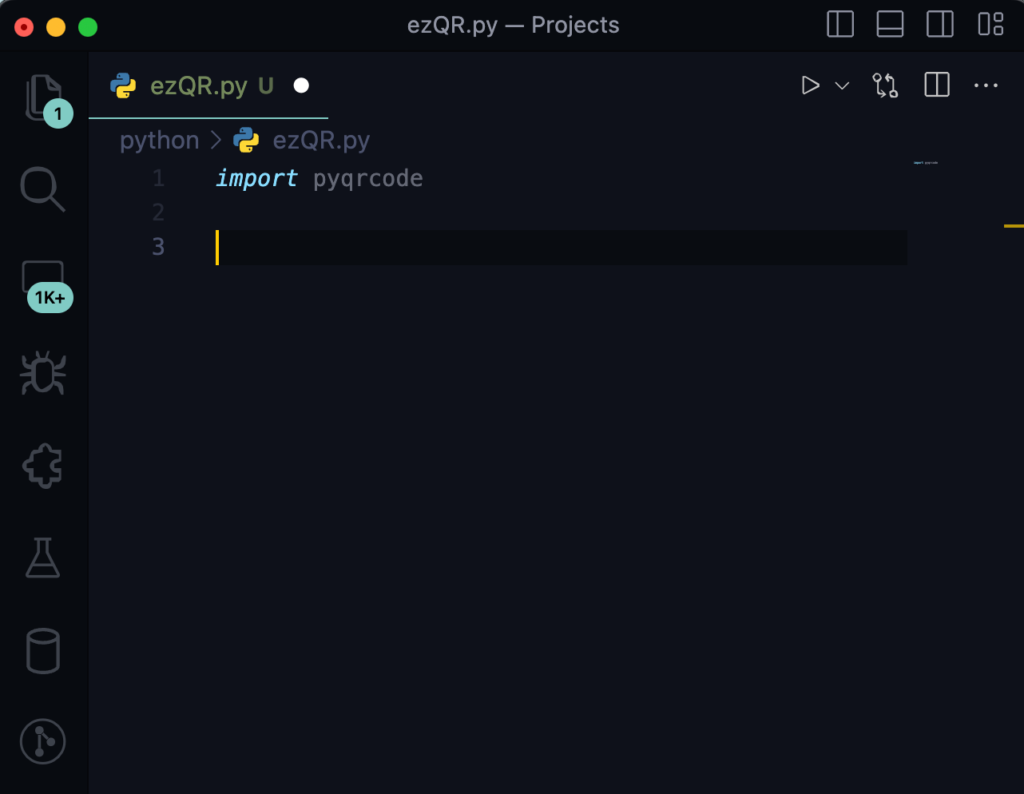
First, we need to import a module called “pyqrcode.” This module is a QR code generator that automates most of the building process. With just a few lines of code, you’ll be done. Type the following line to import the module: “import pyqrcode”.
If “pyqrcode” fails to import, you can try installing it by running the following command:
- On macOS: pip install pyqrcode
- On Windows: python3 -m pip install pyqrcode
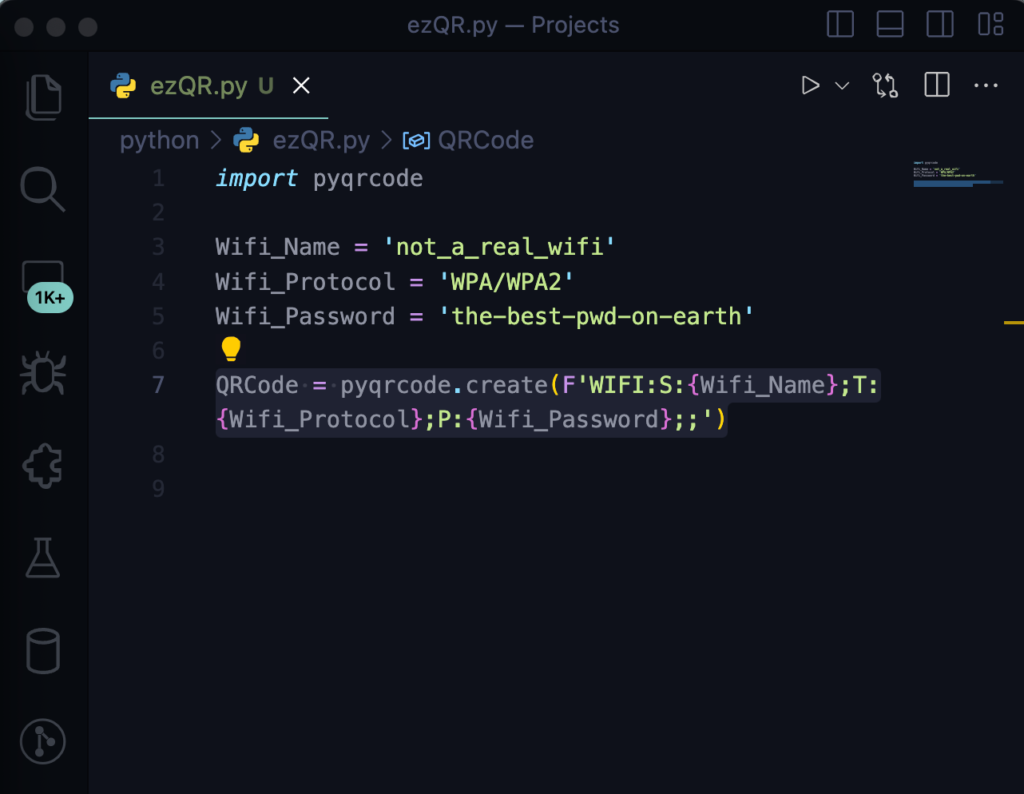
Next, we’ll create a few variables that we’ll be using later in our code. Let’s create them in this order:
“Wifi_Name = ‘Enter the SSID of your wireless network'” “Wifi_Protocol = ‘Enter your encryption protocol'” “Wifi_Password = ‘Enter your wireless network password'”

Now, let’s create the variable to generate the actual QR code. In your IDE, enter the following line: “QRCode = pyqrcode.create(F’WIFI:S:{Wifi_Name};T:{Wifi_Protocol};P:{Wifi_Password}::’)”.
The “QRCode” variable is the Python variable we’re creating that utilizes the “pyqrcode” module. This module allows us to call the variables we created earlier.
Great! Now let’s move on to saving the QR code. For this next part, let’s import the “pypng” module by typing “import png”. If the import fails, you can try installing the module by running the following command:
- On macOS: pip install pypng
- On Windows: python3 -m pip install pypng
After importing “pypng,” let’s also import “sys”:

Let’s close this out by creating the output file, scaling the size of the PNG, and printing the output to let us know where the QR code is saved.
First, we’ll create the variable that stores the location and name of the file. Enter the following line: output_file = ‘/the/path/you/want/this/saved/to/file_name.png’
Next, let’s specify how large we want to scale the QR code by using the QRCode.png() function. Add the following line: QRCode.png(Output_file, scale=8)
Finally, let’s print out the location by adding: print(“QR code saved as”, output_file)
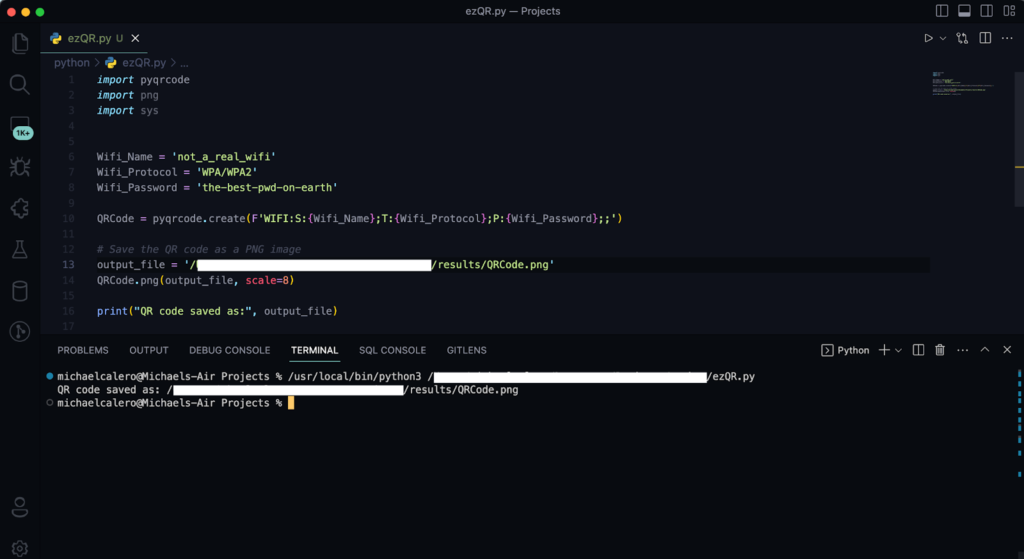
At this point, your code should look like this –
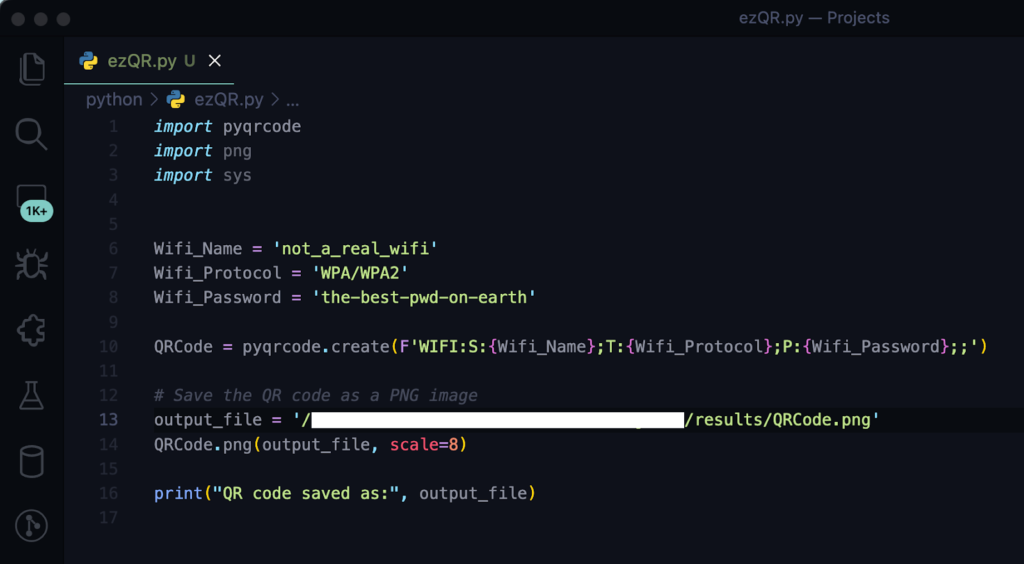
If your code looks like the above then hit run and let’s get our QR code!
I hope you had a great time creating your own QR code with me! It’s always exciting to create cool new things. Until next time, take care and have fun exploring the world of Python!
No responses yet